Document Actions
gvSIG-Desktop 1.12. Manual de usuario
Navigation tools
Navigating around / Exploring the view
Introduction
There are several tools you can use to navigate around the map. These are basically zooms and panning.

Zooms and panning
Estas herramientas las puede ejecutar desde el menú “Vista/Navegación“.
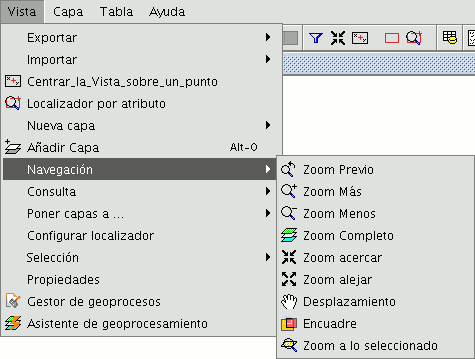
Barra de menús. Vista.
o de forma más rápida, desde la barra de botones.
| Nombre | Imagen | Descripción |
|---|---|---|
| Zoom más |  |
Amplía una determinada área de la vista. |
| Zoom menos |  |
Disminuye un área determinada de la vista. |
| Zoom previo |  |
Permite volver al zoom anterior. |
| Zoom completo |  |
Hace un zoom a la extensión total que definen todas las capas de la vista. |
| Desplazamiento |  |
Permite cambiar el encuadre de la vista arrastrando el campo de visualización en todas las direcciones mediante el ratón. Debe mantener el botón primario pulsado y mover el ratón hacia la dirección deseada. |
| Zoom a la selección |  |
Hace un zoom a la extensión total que definen todos los elementos seleccionados. |
| Zoom a la capa | 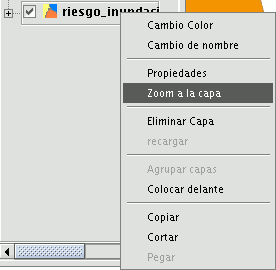 |
Para hacer un zoom a la capa, pulse con el botón secundario del ratón sobre la capa seleccionada en el ToC, en el menú contextual pulse la opción “Zoom a la capa”. |
También es posible hacer Zoom más o Zoom menos mediante la rueda del ratón. En este caso, la ampliación se realizará empleando como foco, el centro de la vista.
Zoom manager
You can access the “Zoom manager” from the tool bar by clicking on the following button:

or from the “View” menu, then “Navigation” and “Zoom manager”.
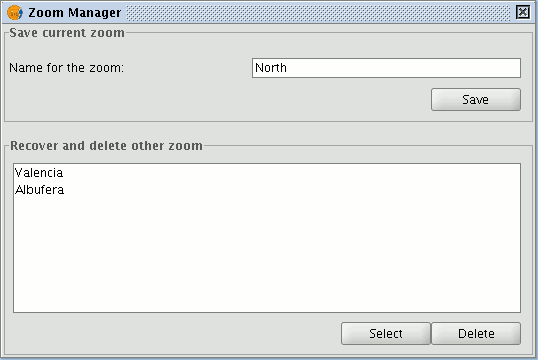
By clicking on the “Zoom manager” you can save a zoom so that you can go back to it at a later stage.
This tool can be used to name the current zoom of the view with the text bar which appears in the window.
Click on “Save” and the zoom currently in the view will automatically be added to the “Zoom manager” text box.
You can create and save as many zooms as you wish. Use the "Select” and “Delete” buttons to manage your working areas.
Configuring the locator map
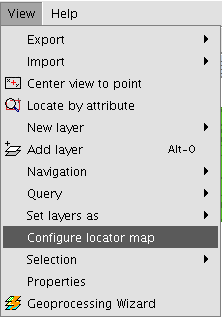
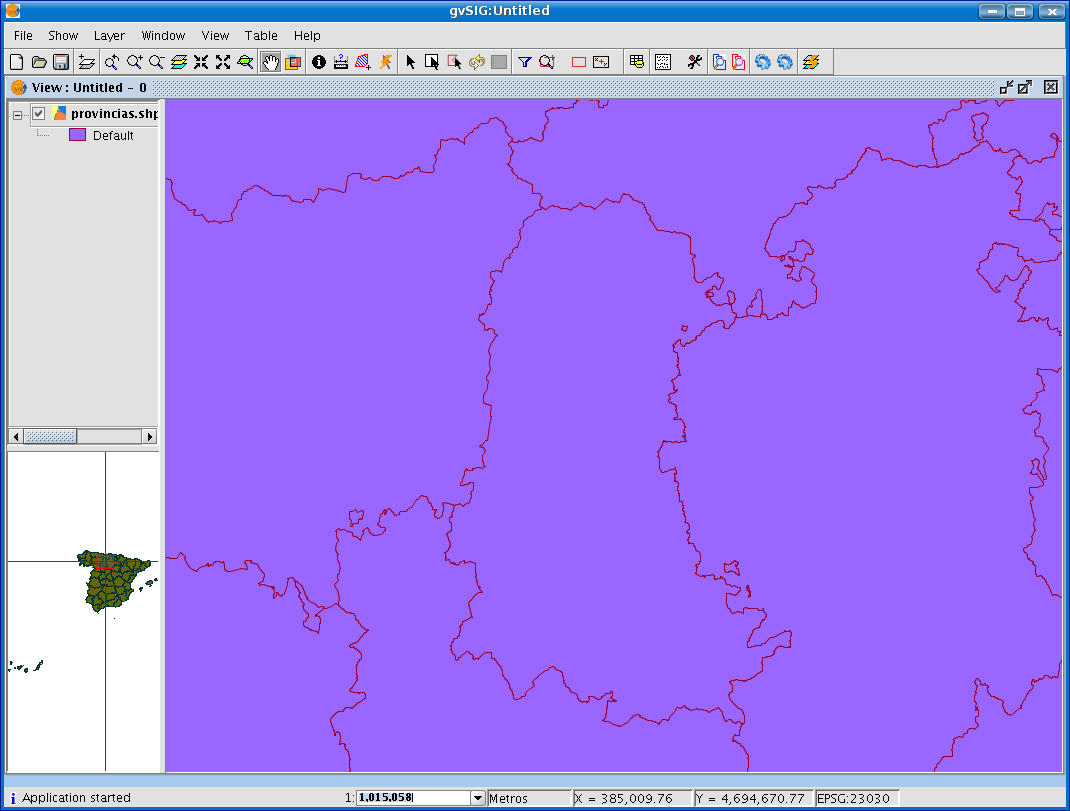
The locator is a general map which is displayed in the bottom left hand corner of the view's window. It is used to show the working area (main window zoom). Click on “View” in the menu bar and select “Configure locator map”.
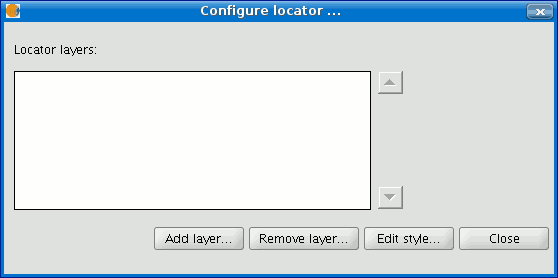
A window appears in which we can add layers (we can add the same types of layers as in the view) which will make up part of the locator map. This window can also be used to remove layers or edit the layers’ legends.
When you click on the “Add layer” button, the following window appears
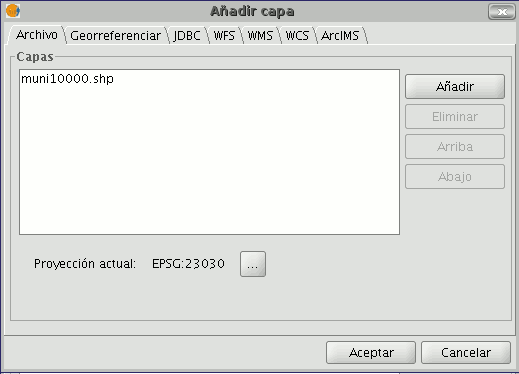
This new function allows the layer loaded in the locator map to be reprojected. To do this, click on the button next to “Current projection when you have selected the layer you wish to load in the locator map.
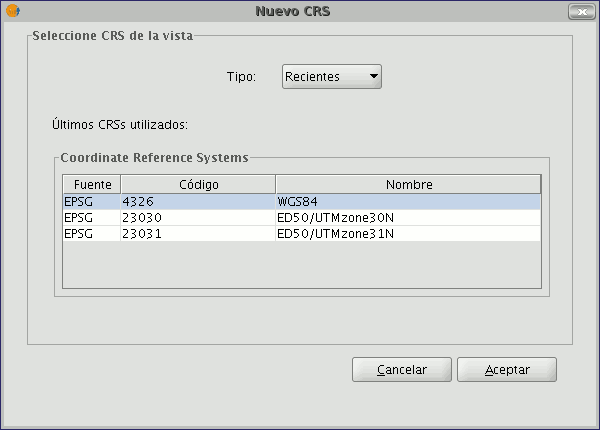
In the following window, select the reference system you wish the layer to have in the locator map and click on “Finish” for the changes to take effect.
Centring the view on a point
This tool allows you to locate a point in the view by its coordinates and to centre the view on this point.

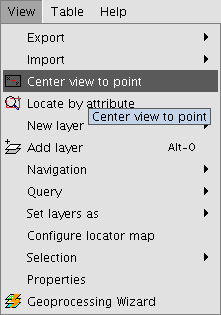
You can also access the tool by going to the “View” menu then to “Centre view on a point”.
When you have accessed the tool, a dialogue box will appear in which you can input the required coordinates and select the point colour.
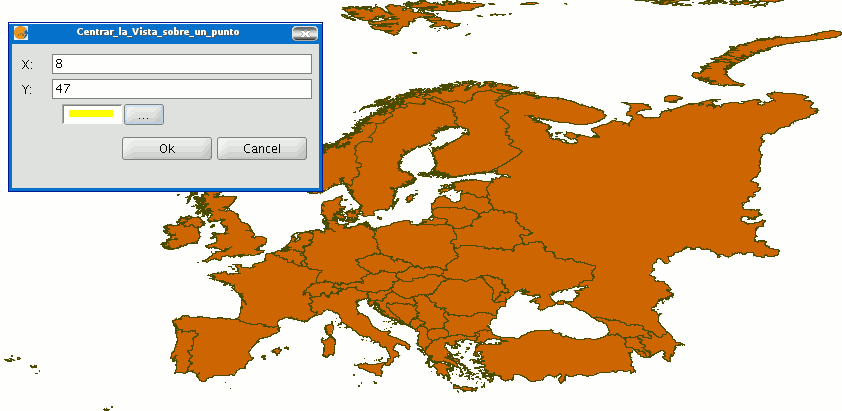
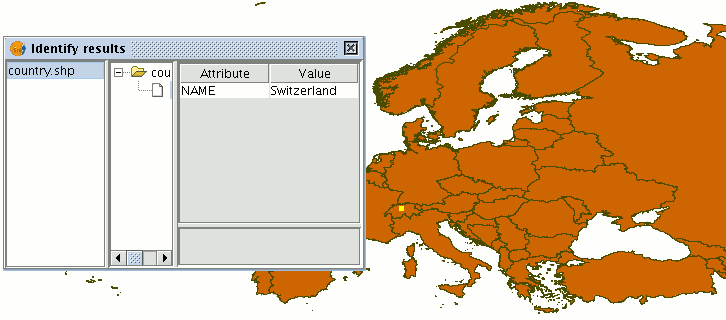
When you click on the "Ok" button, the view centres on this point and the information window that corresponds to this point appears.
Locate by attribute
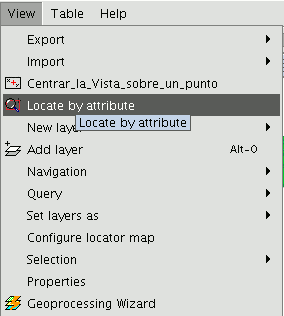
This tool allows you to zoom in on areas of a layer by specifying the value of a particular attribute. You can access this tool by clicking on the button

or by going to the “View” menu then to “Locate by attribute”.
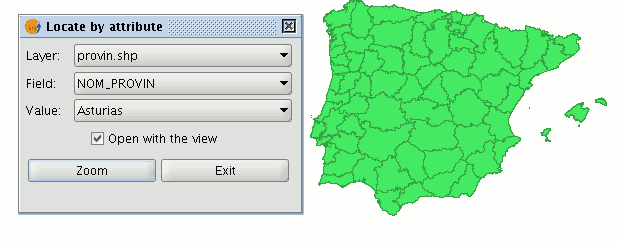
When the tool is selected, the following window appears
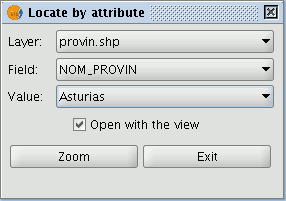
You will find all the layers loaded in the ToC in the “Layer” pull down menu. The fields associated with the chosen layer are included in the “Field” pull down menu.
The data included in the selected field appears in the "Value" pull down menu.
If you mark the “Open with the view” check box and decide to close the view, the “Locate by attribute” window will appear the next time you open the view.
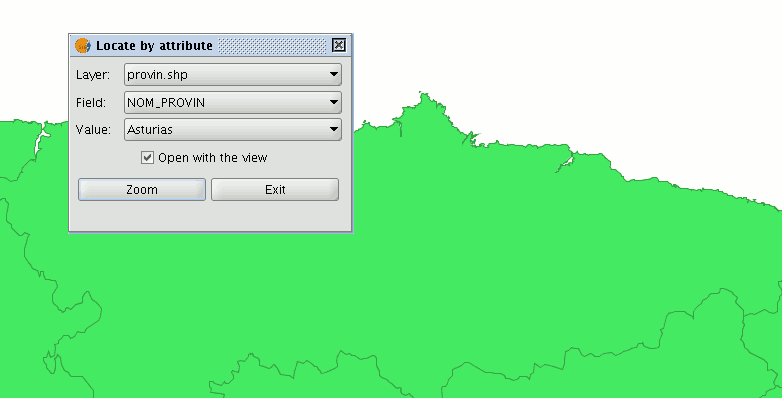
When you have made the selection, click on the "Zoom" button and the chosen area will be shown in the view.